NOTE: The code, wiring diagrams, and the designs as a whole, are a all part of a prototype. The devices was implemented to serve as proof of concept and to gather train coach data and may eventually be replaced by a more industrial version.
 The summer after my sophomore year of college I worked for Keolis, a transportation and mobility
company that's contracted by the MBTA to run their commuter rail system. Throughout the summer I gained valuable experience
working with micro-controllers and prototyping a project.
I was initially tasked with creating an Arduino-based system that would read the pressure from
the HVAC transducers and write them to a micro SD card for later analysis.
As I began to explore tackling this problem, my boss and I soon realized that this device could
be used for much more. In its final version, my project turned into more of a cabin comfort
monitoring device. It used a variety of sensors to measure coach C02 levels, coach temperature,
filter pressure (for determining how dirty the filters were), coach humidity, and the pressure
from the transducers
while showing the pressures live on an OLED display as well as logging all the information to a
CSV file on the micro SD card.
The summer after my sophomore year of college I worked for Keolis, a transportation and mobility
company that's contracted by the MBTA to run their commuter rail system. Throughout the summer I gained valuable experience
working with micro-controllers and prototyping a project.
I was initially tasked with creating an Arduino-based system that would read the pressure from
the HVAC transducers and write them to a micro SD card for later analysis.
As I began to explore tackling this problem, my boss and I soon realized that this device could
be used for much more. In its final version, my project turned into more of a cabin comfort
monitoring device. It used a variety of sensors to measure coach C02 levels, coach temperature,
filter pressure (for determining how dirty the filters were), coach humidity, and the pressure
from the transducers
while showing the pressures live on an OLED display as well as logging all the information to a
CSV file on the micro SD card.
Over the course of the summer I greatly improved on my embedded systems programming and soldering skills. This device was the most complicated
embedded systems project that I had built from start to finish up to this point. Integrating the design onto a perf-board was a test of my
soldering abilities and forced me to get good at using the iron and pump. I am incredibly grateful for the opportunity that Keolis gave me to learn
and grow on the job. The script I wrote went through nine versions and the case assembly went
through 3 versions, referred to as MK1 - MK3 throughout the post.
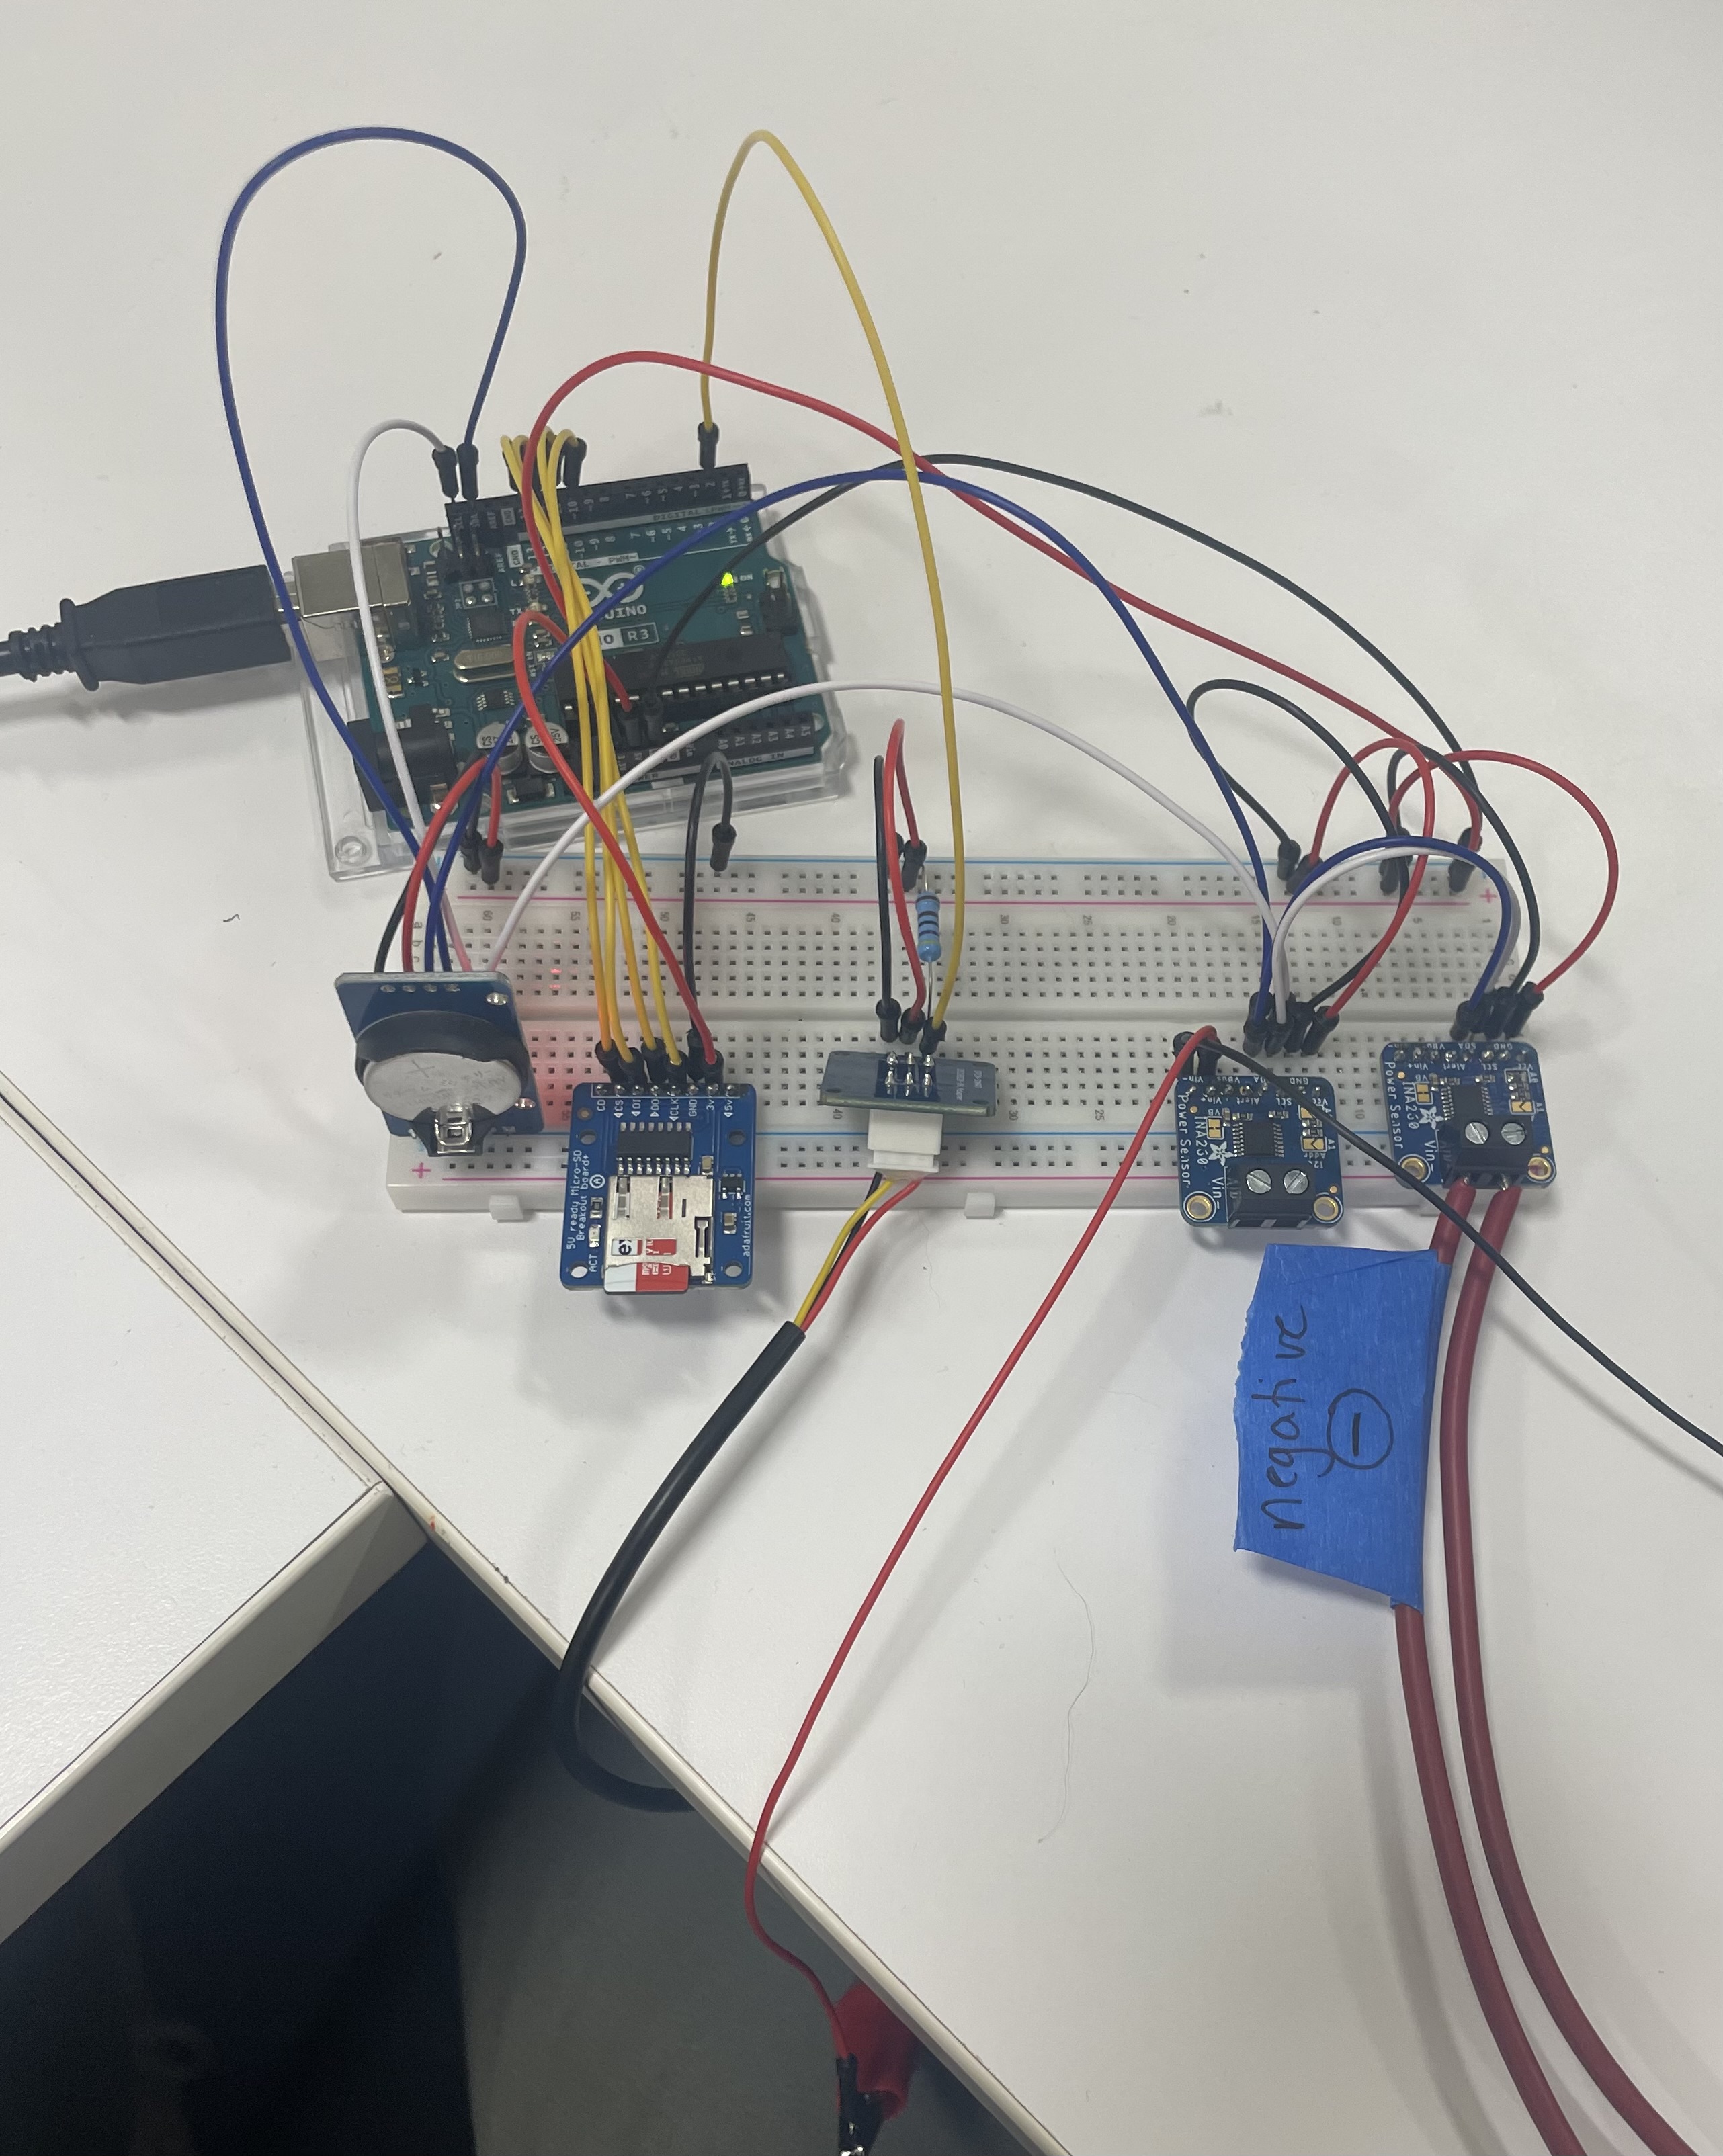
Pictured Right: MK1 - The fist version of the device laid out on a breadboard
Version History Summary:
Parts List (MK3):
Project Challenges & Setbacks
-
Fail, Fail, and Fail again
The biggest thing I learned throughout my 10 weeks at Keolis was how many setbacks you face when taking a project from start to finish. At first, most of my problems were related to sensor incompatibilities. I was working with more sensors than I ever had and was running into issues with their communication protocols. I read through forums and stack overflow posts until I learned enough to fix my issue, gaining an understanding of SPI and I2C protocols in the process. I found prototyping to be a frustrating but also incredibly rewarding process. The lows were filled with challanges of of a seemingly unsolvable bug and the highs were marked by infinite joy of getting the hardware to finally cooperate and a working project slowly taking form. The key to moving forward with this process was integrating everything in phases and making the project seem smaller than it actually was. -
Being part of a the bigger picture
This next statement seems obvious but holds lots of importance - running a railroad is complicated. When it came to installing my data logger onto the train, I had to be very mindful of my timing. Working around the commuter rail schedule was the easy part, the challange was having enough time as well as the right people to do the device install. Time on the coach was always limited because it's a top priority to keep as many locomotives and coaches running as possible. I also always needed a carman and electrician with me when making changes to the air vent wiring or drilling new holes. Collecting the right people at the right time proved difficult and illuminated just how big the scale of what I was working on was. -
Scope Creep
The initial idea for what my project was going to do was much simpler than what the final product ended up as. After a few talks with my manager, we realized that given the positioning of the device in the AC vent and the versatility of the Arduino Nano ESP32 this logger could do much more. This meant more R&D and a much cooler project. As a result, I added 3 more sensors and a display to the logger. This taught me that, especially for prototypes, you have to be adaptable. You never know when a new idea could pop into your head and severely change what you're doing. Although the changes my manager requested I implemented made the project more challenging it also increased my interest and turned into motivation to push through the bugs.
Project Photos
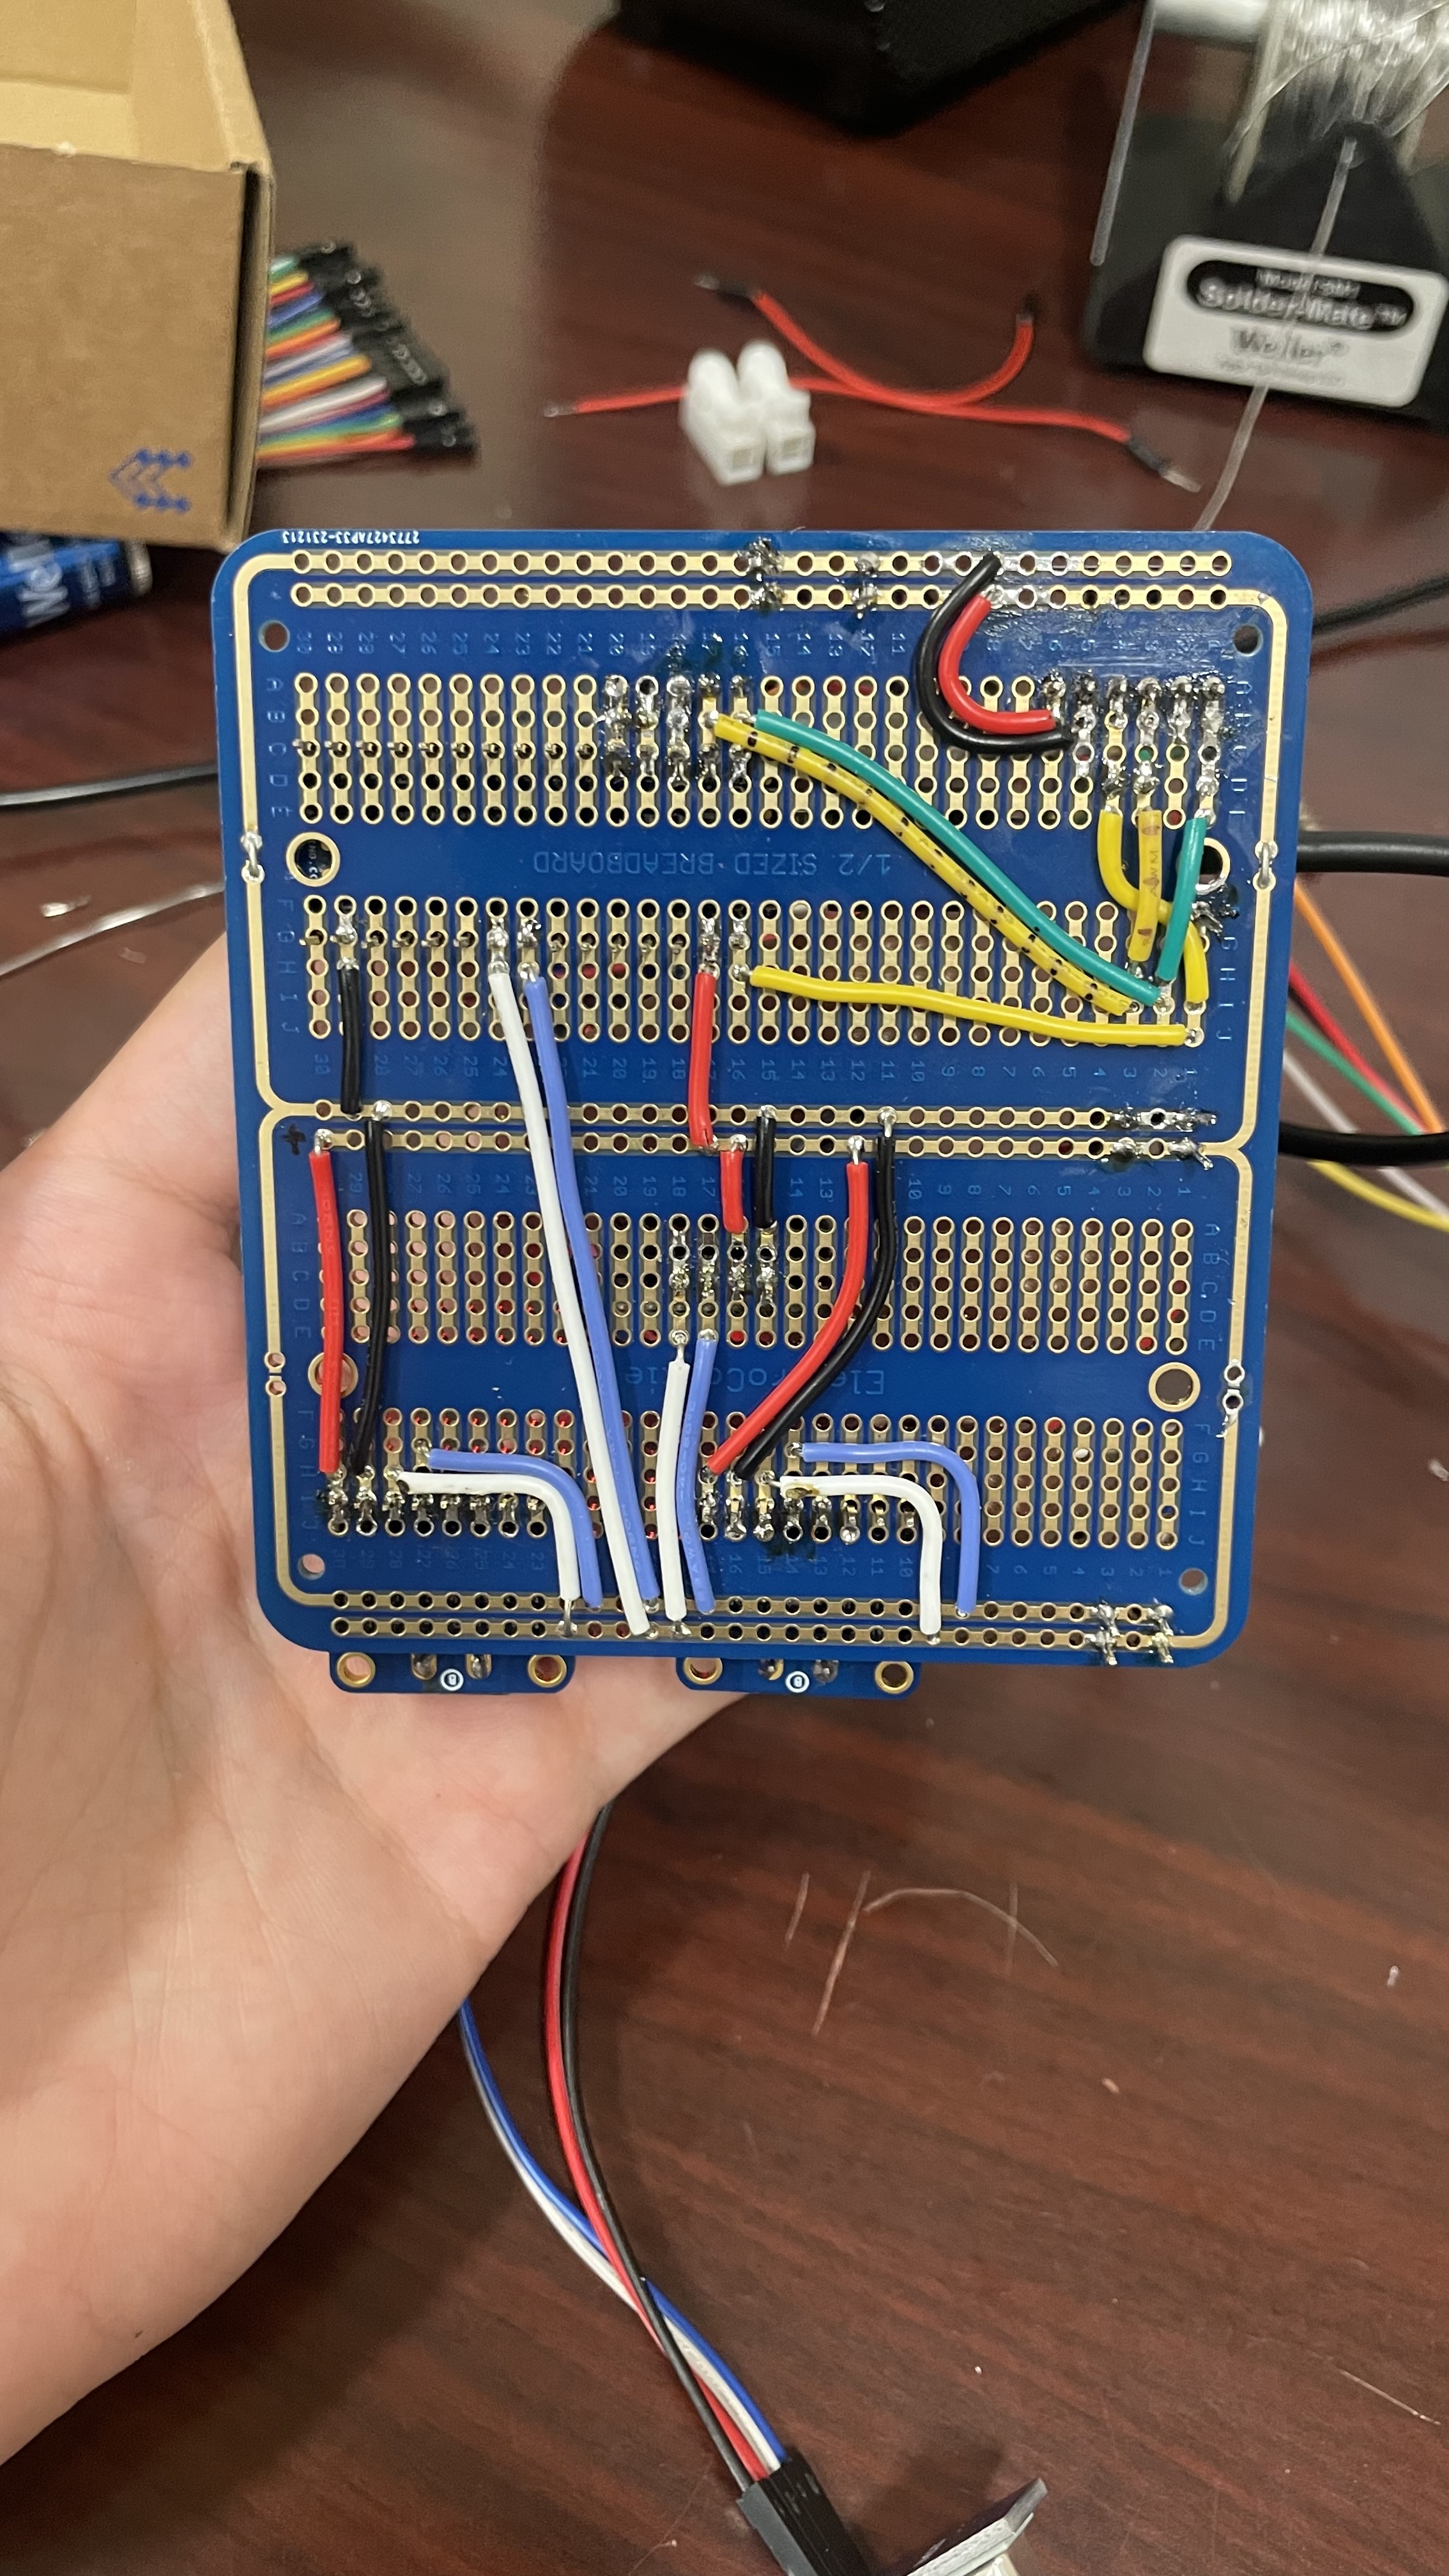
MK 3 perf-board solder work
MK 2 in Case

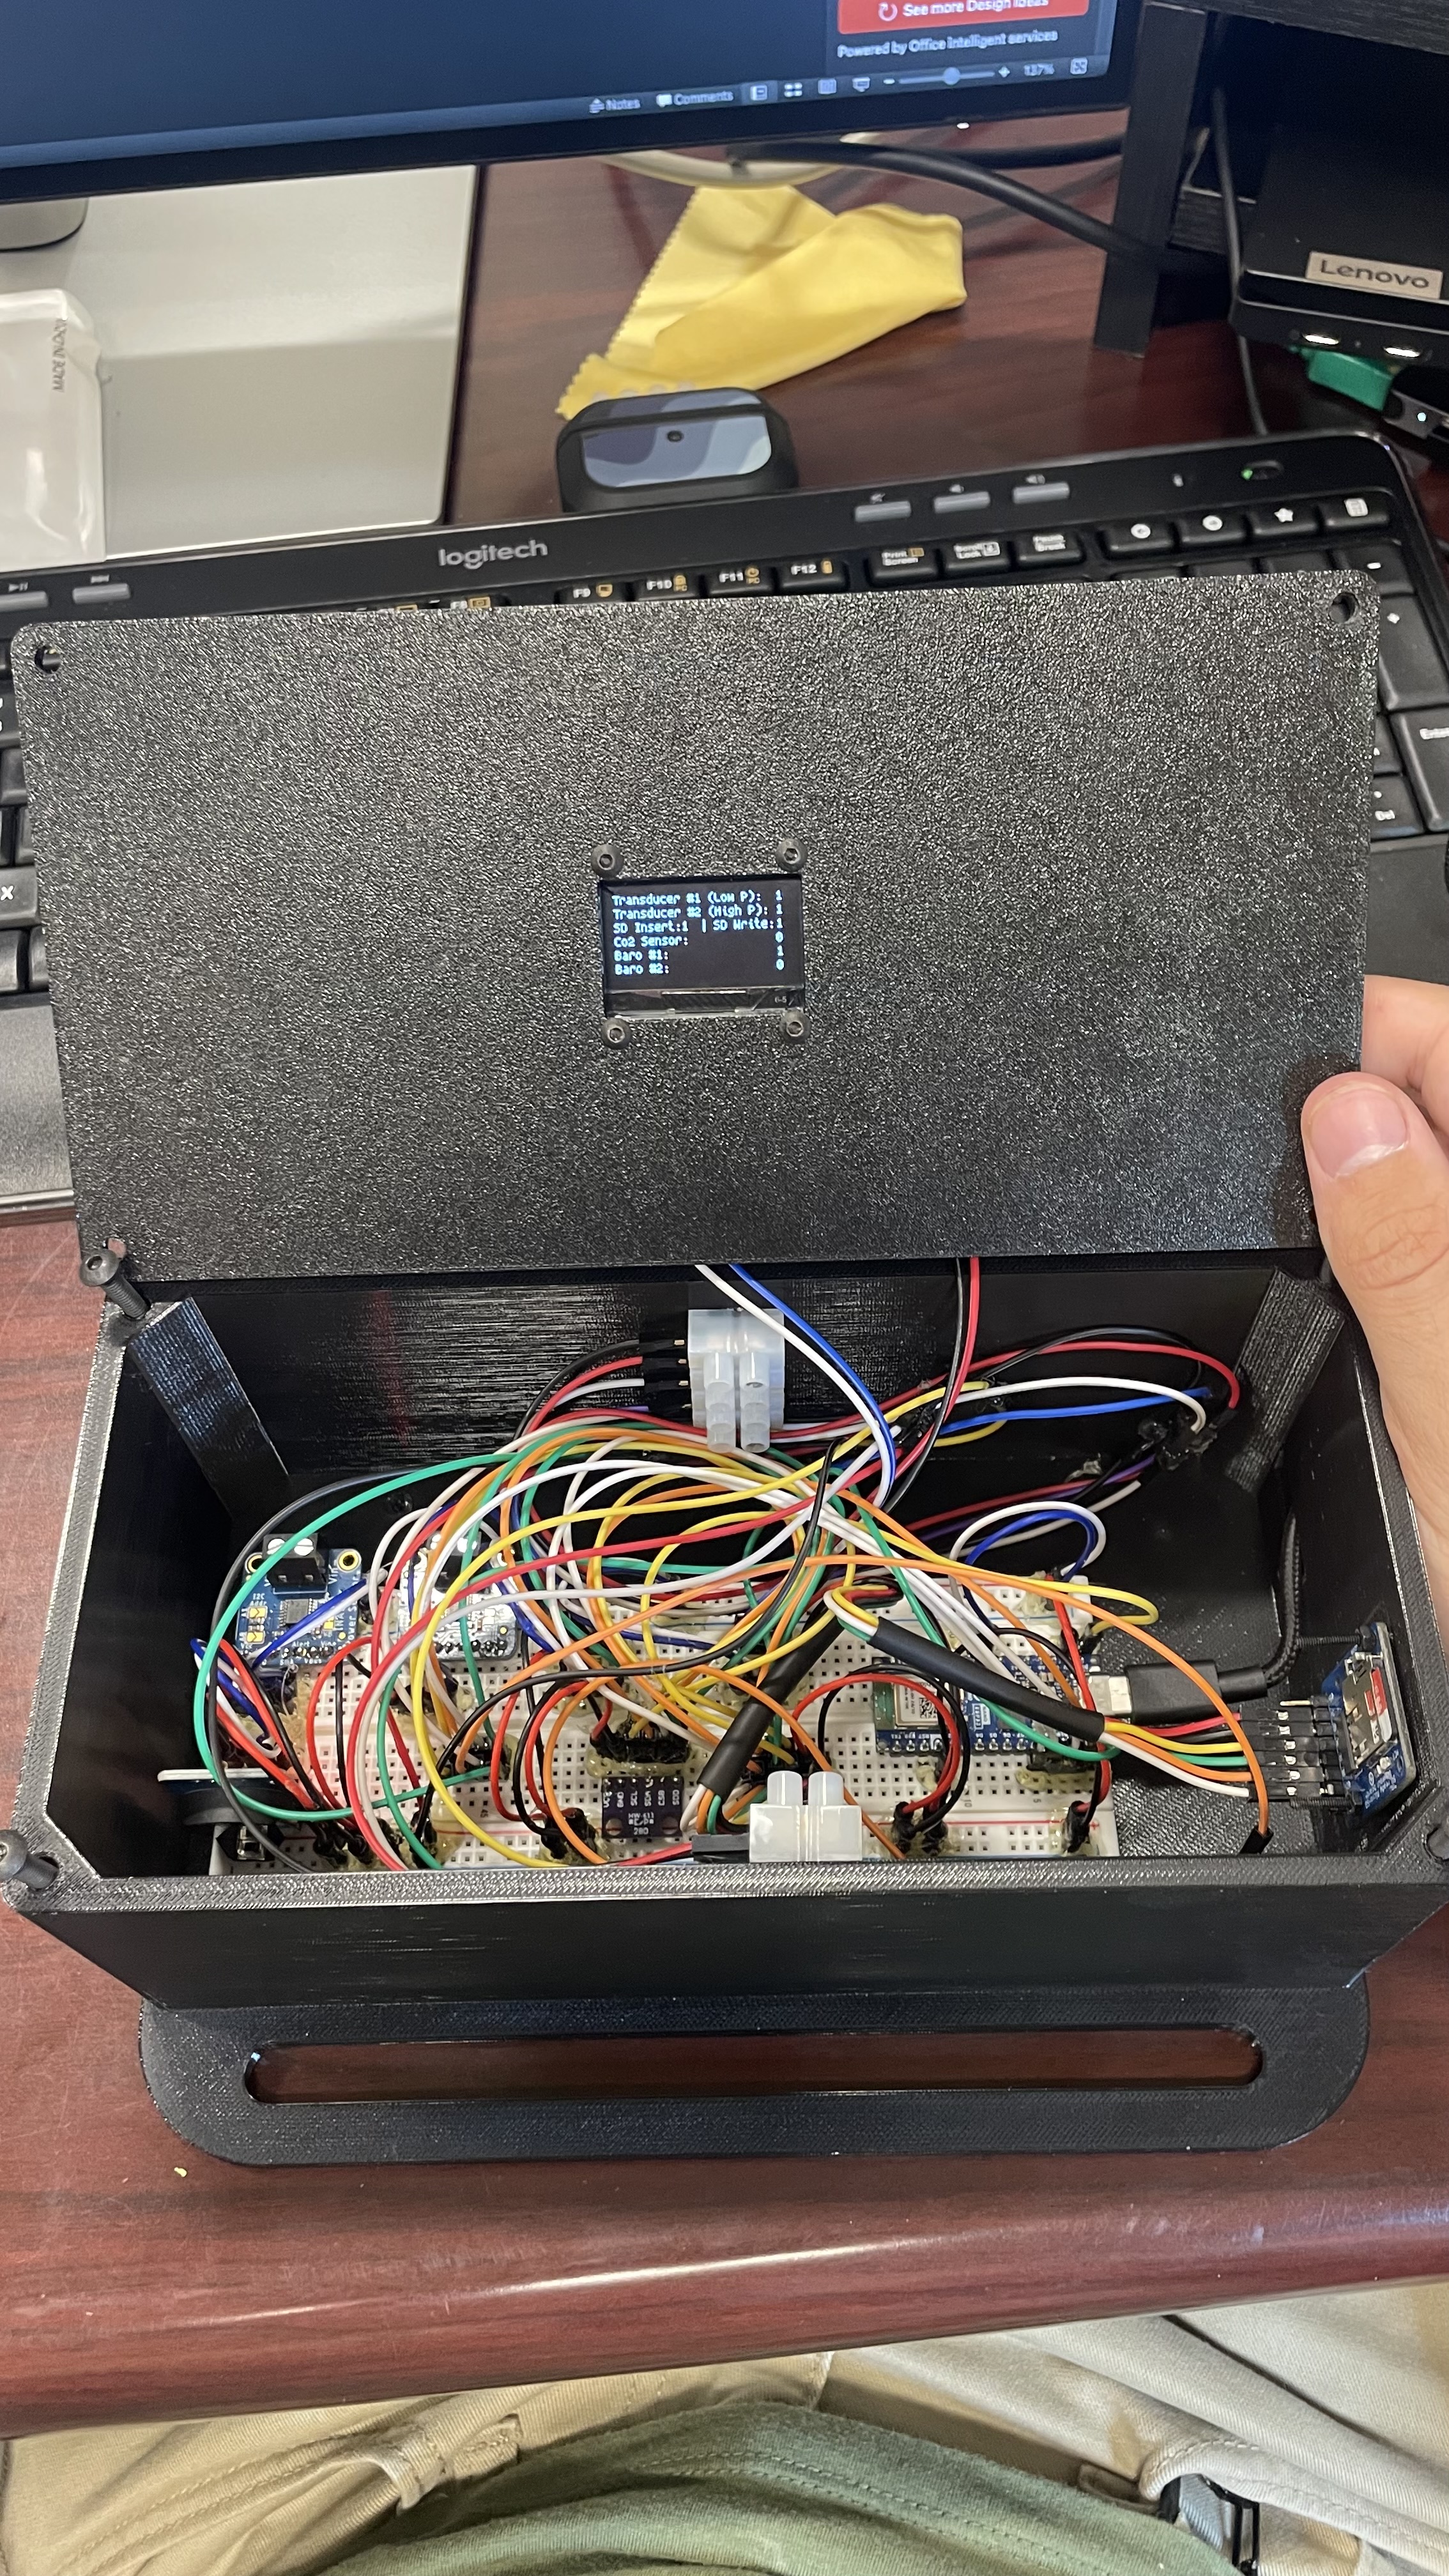
MK 3 in Case
MK 2 in AC Vent
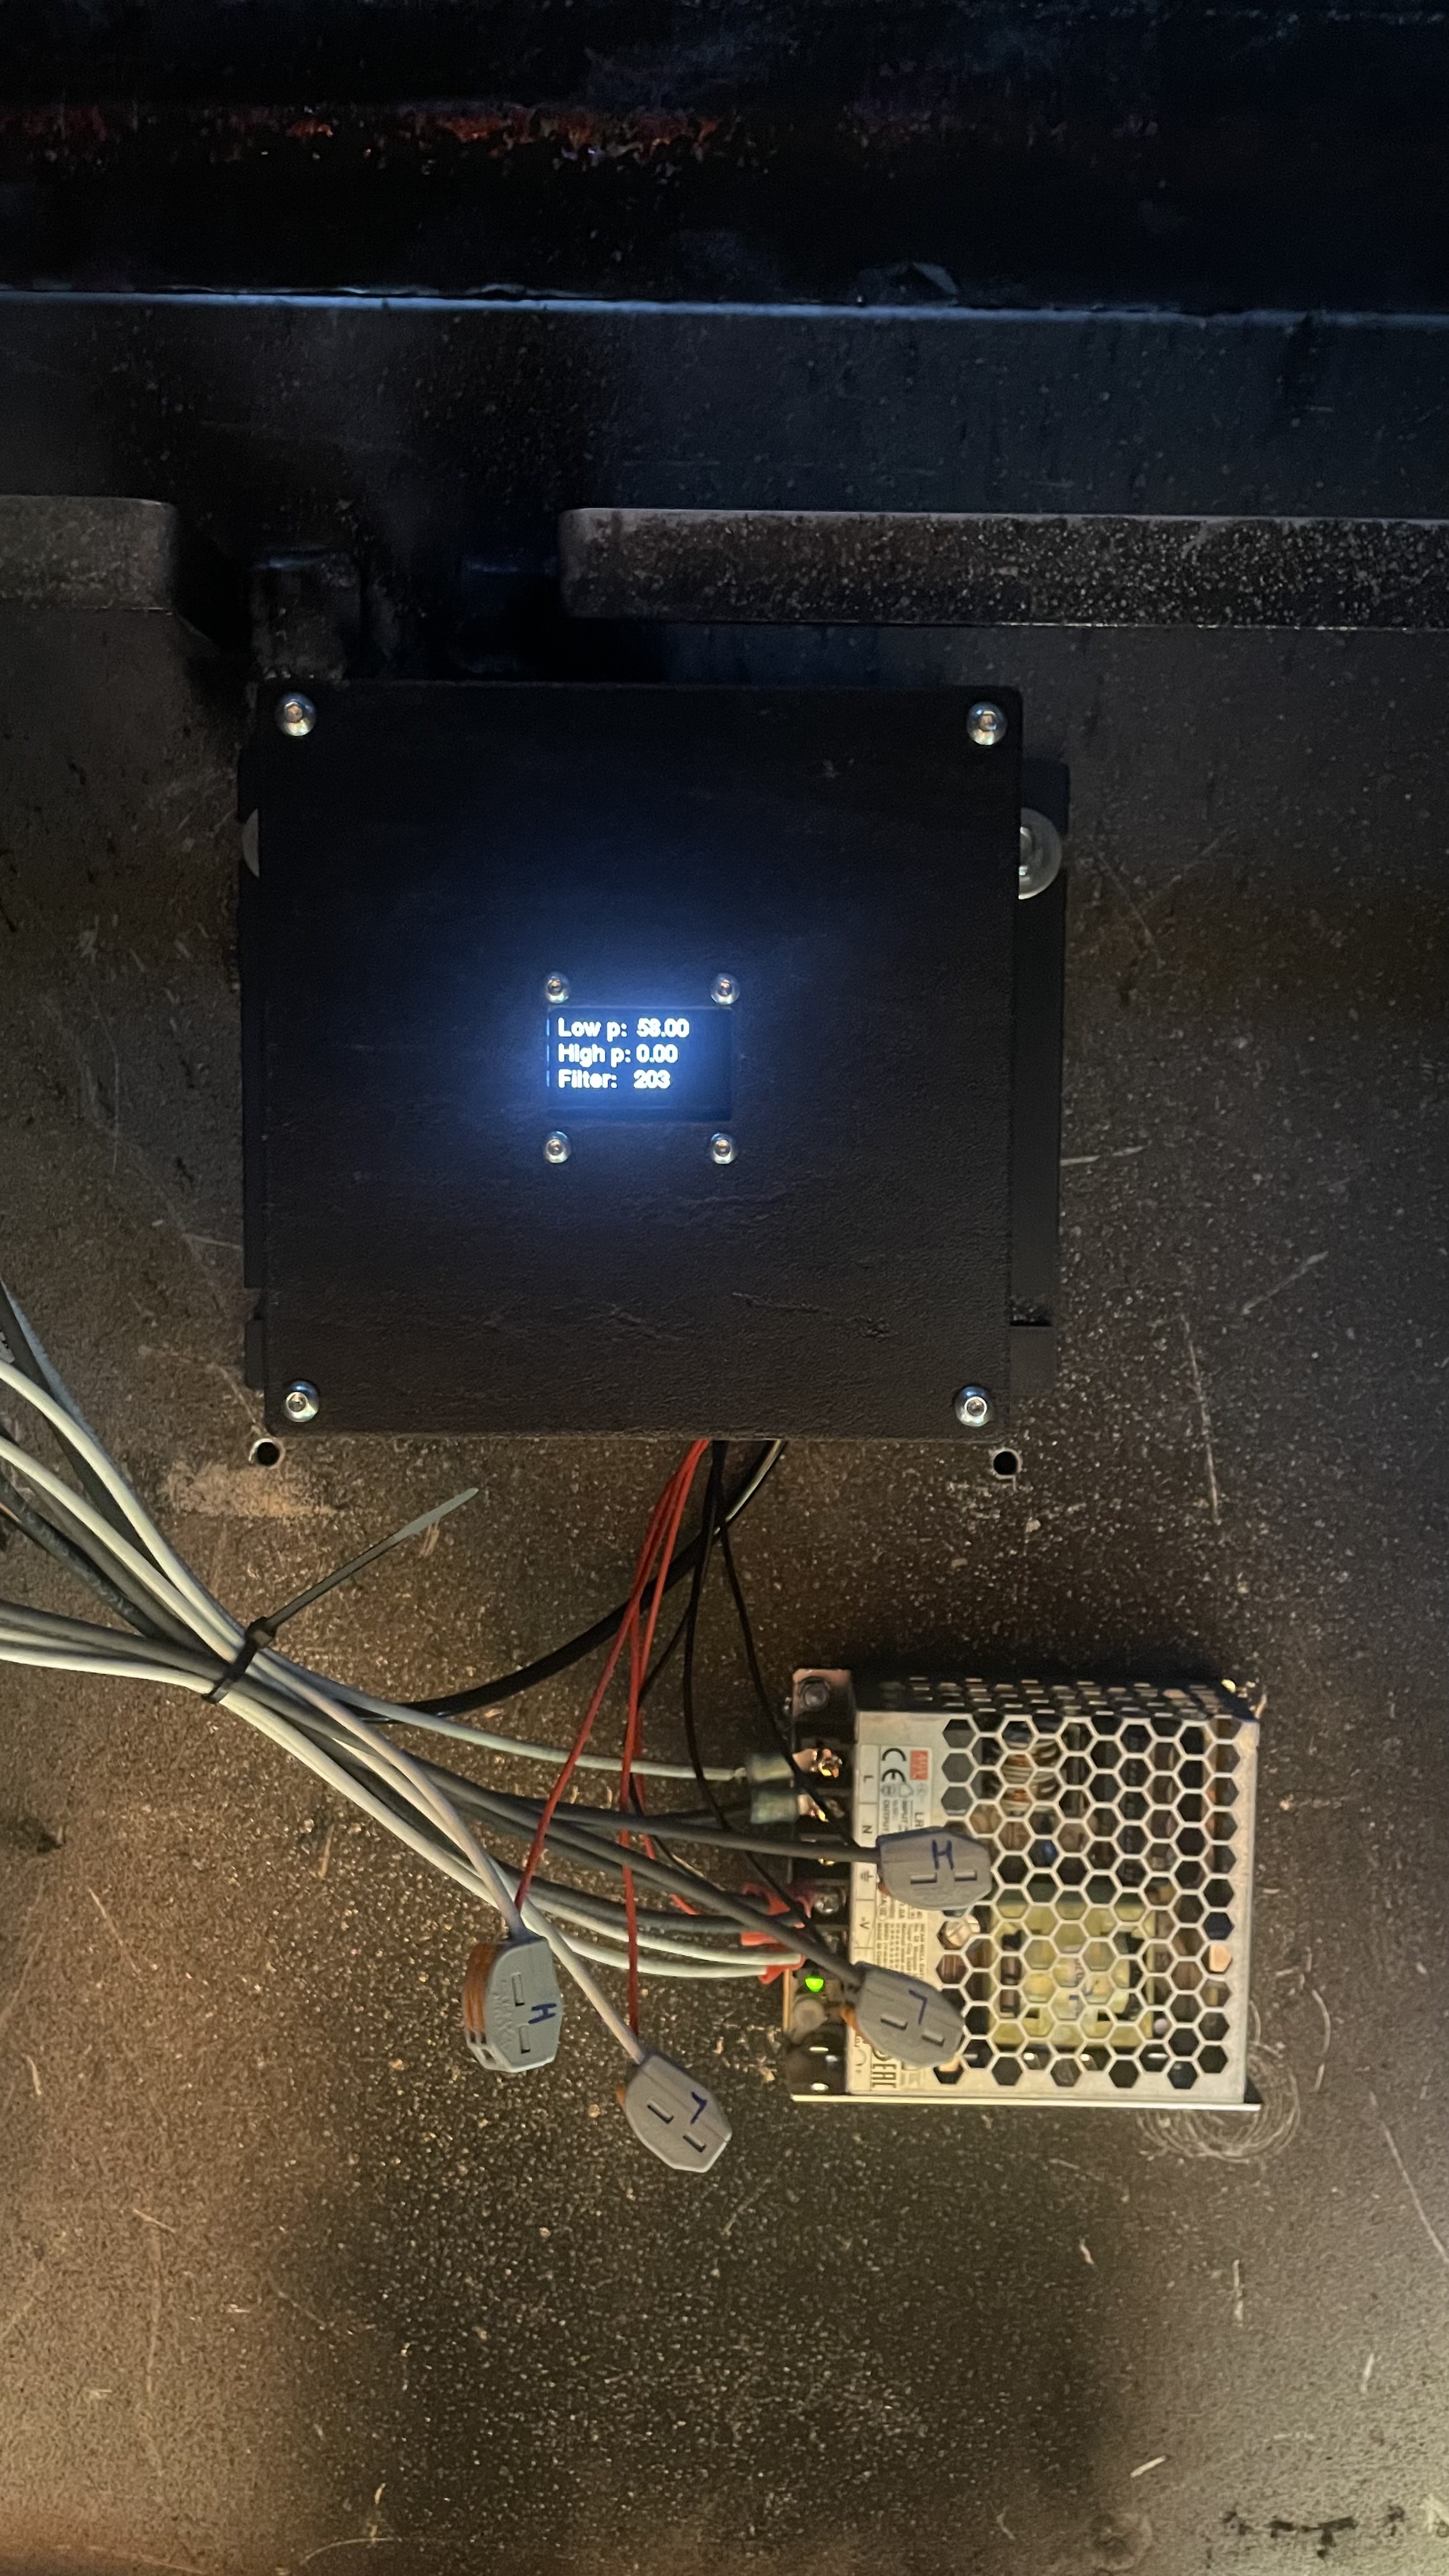
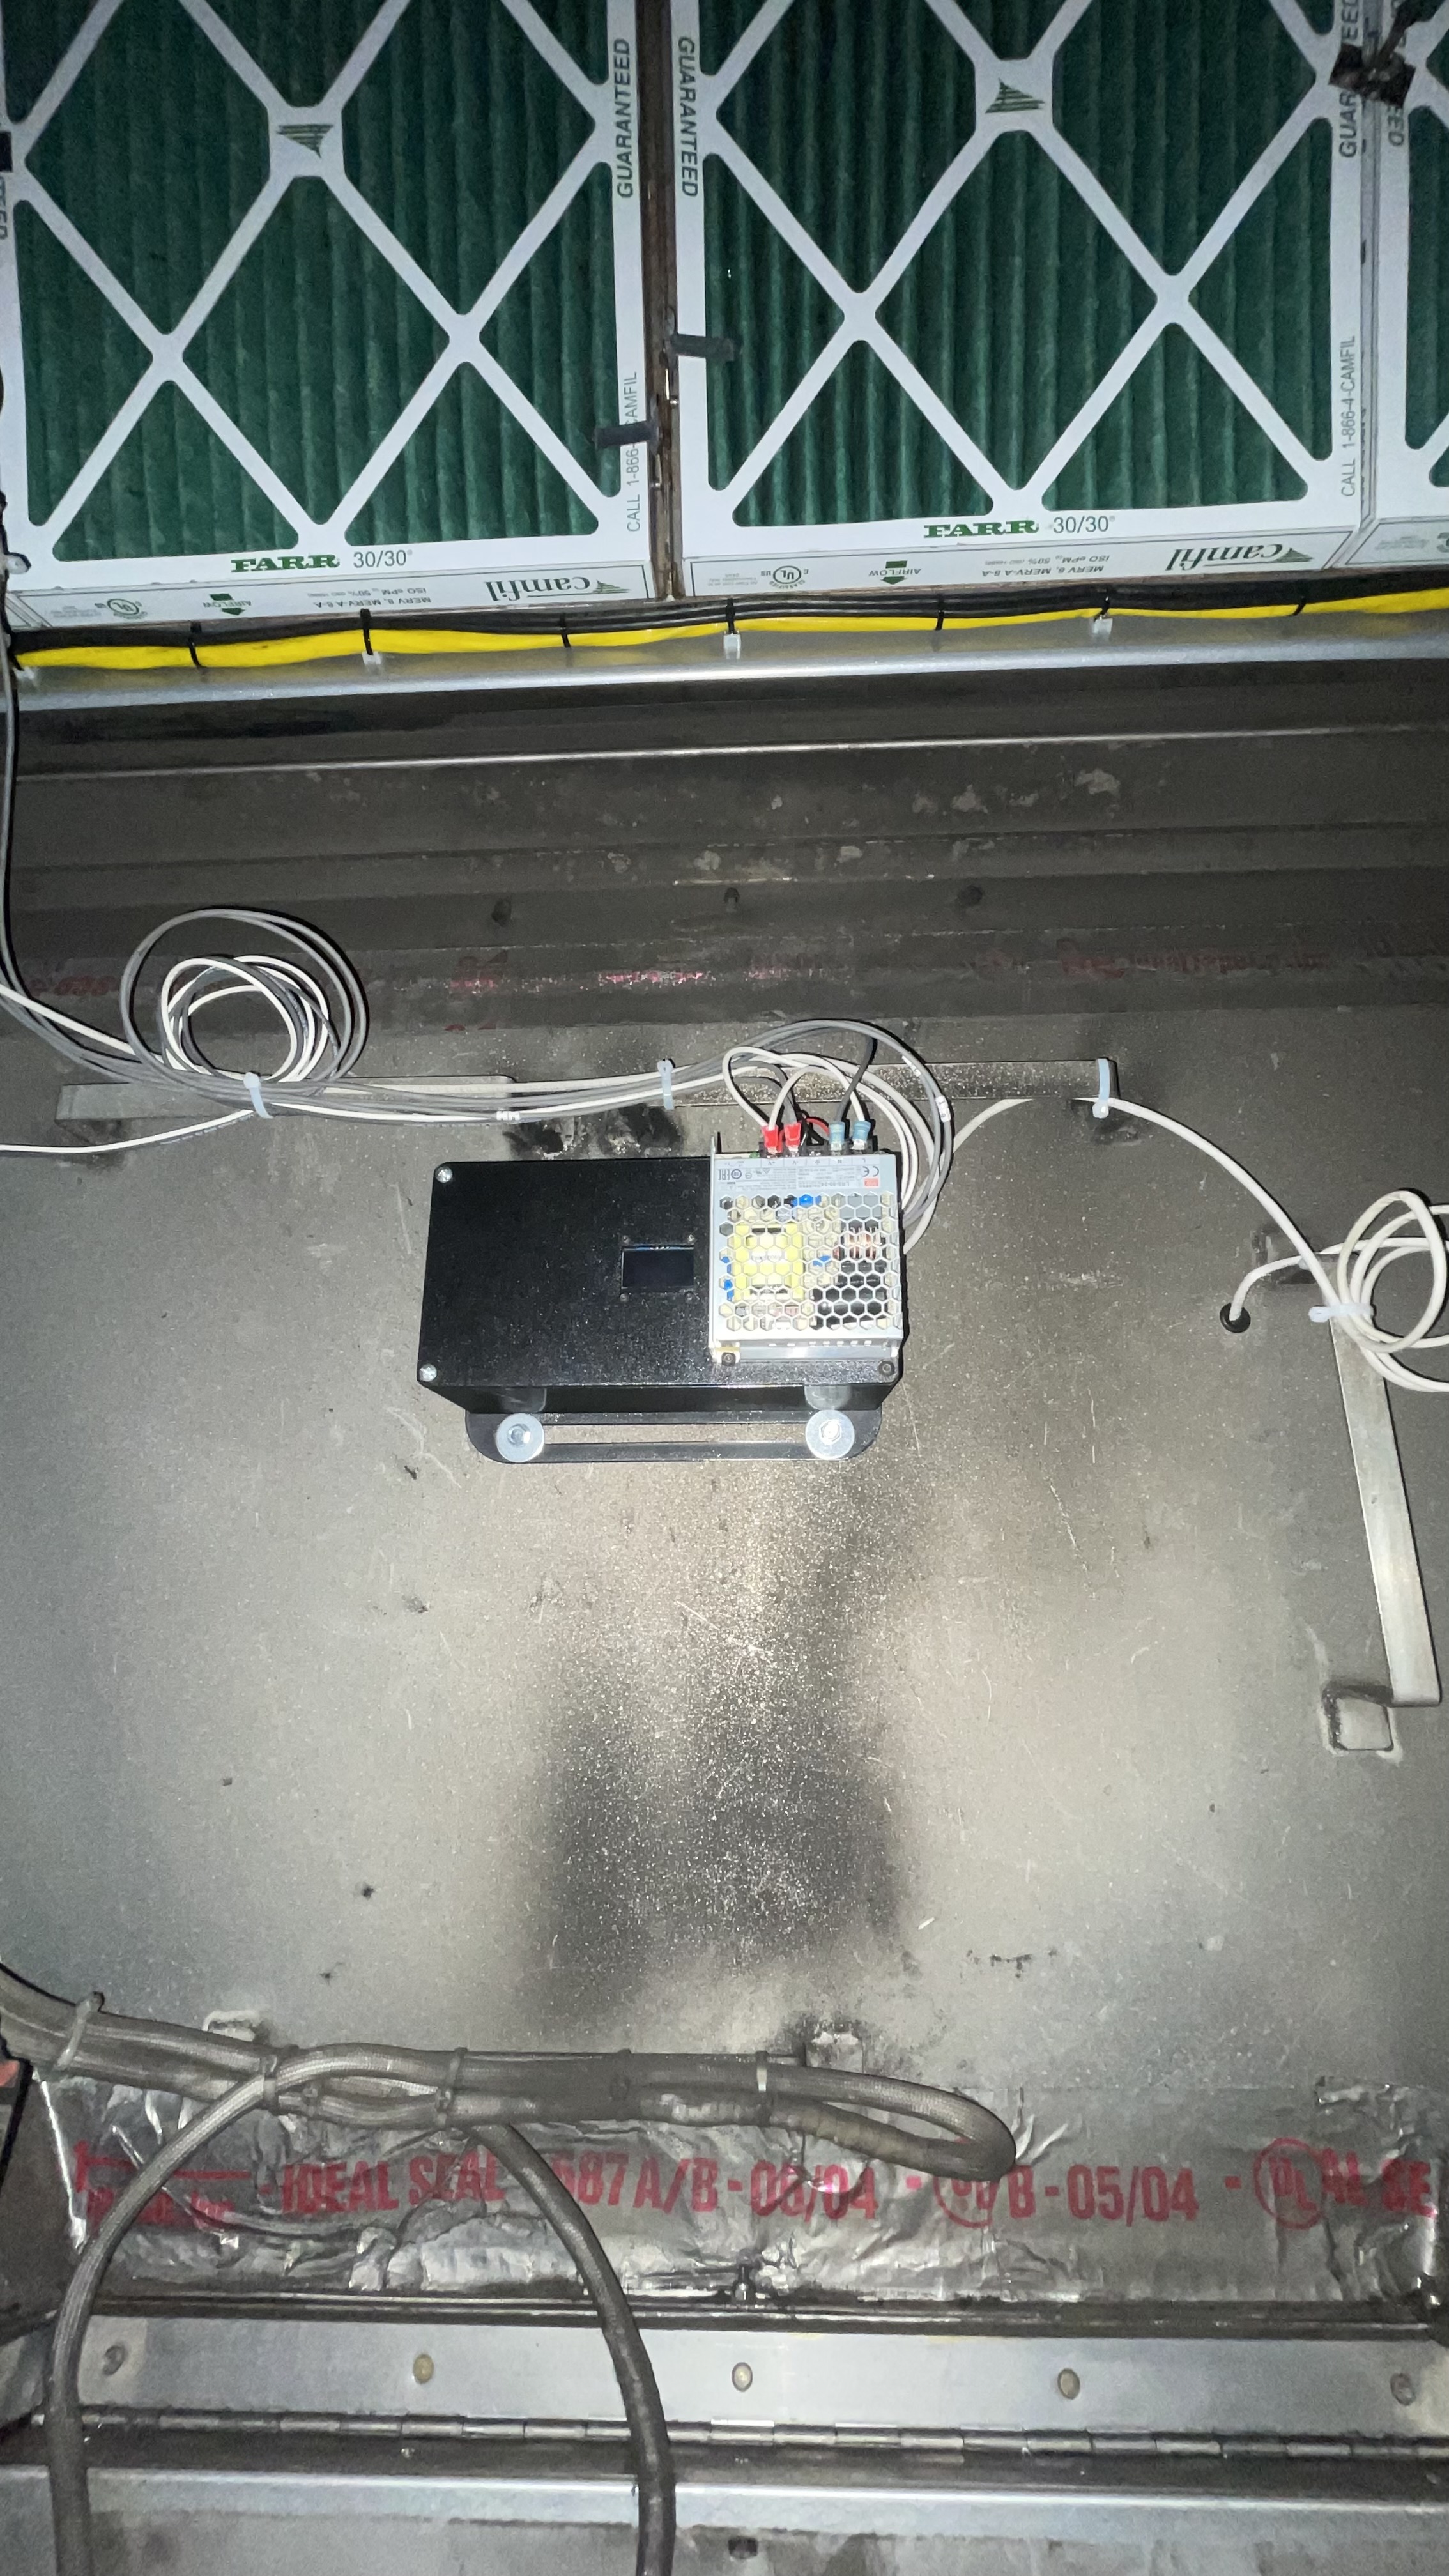
MK 3 in Vent
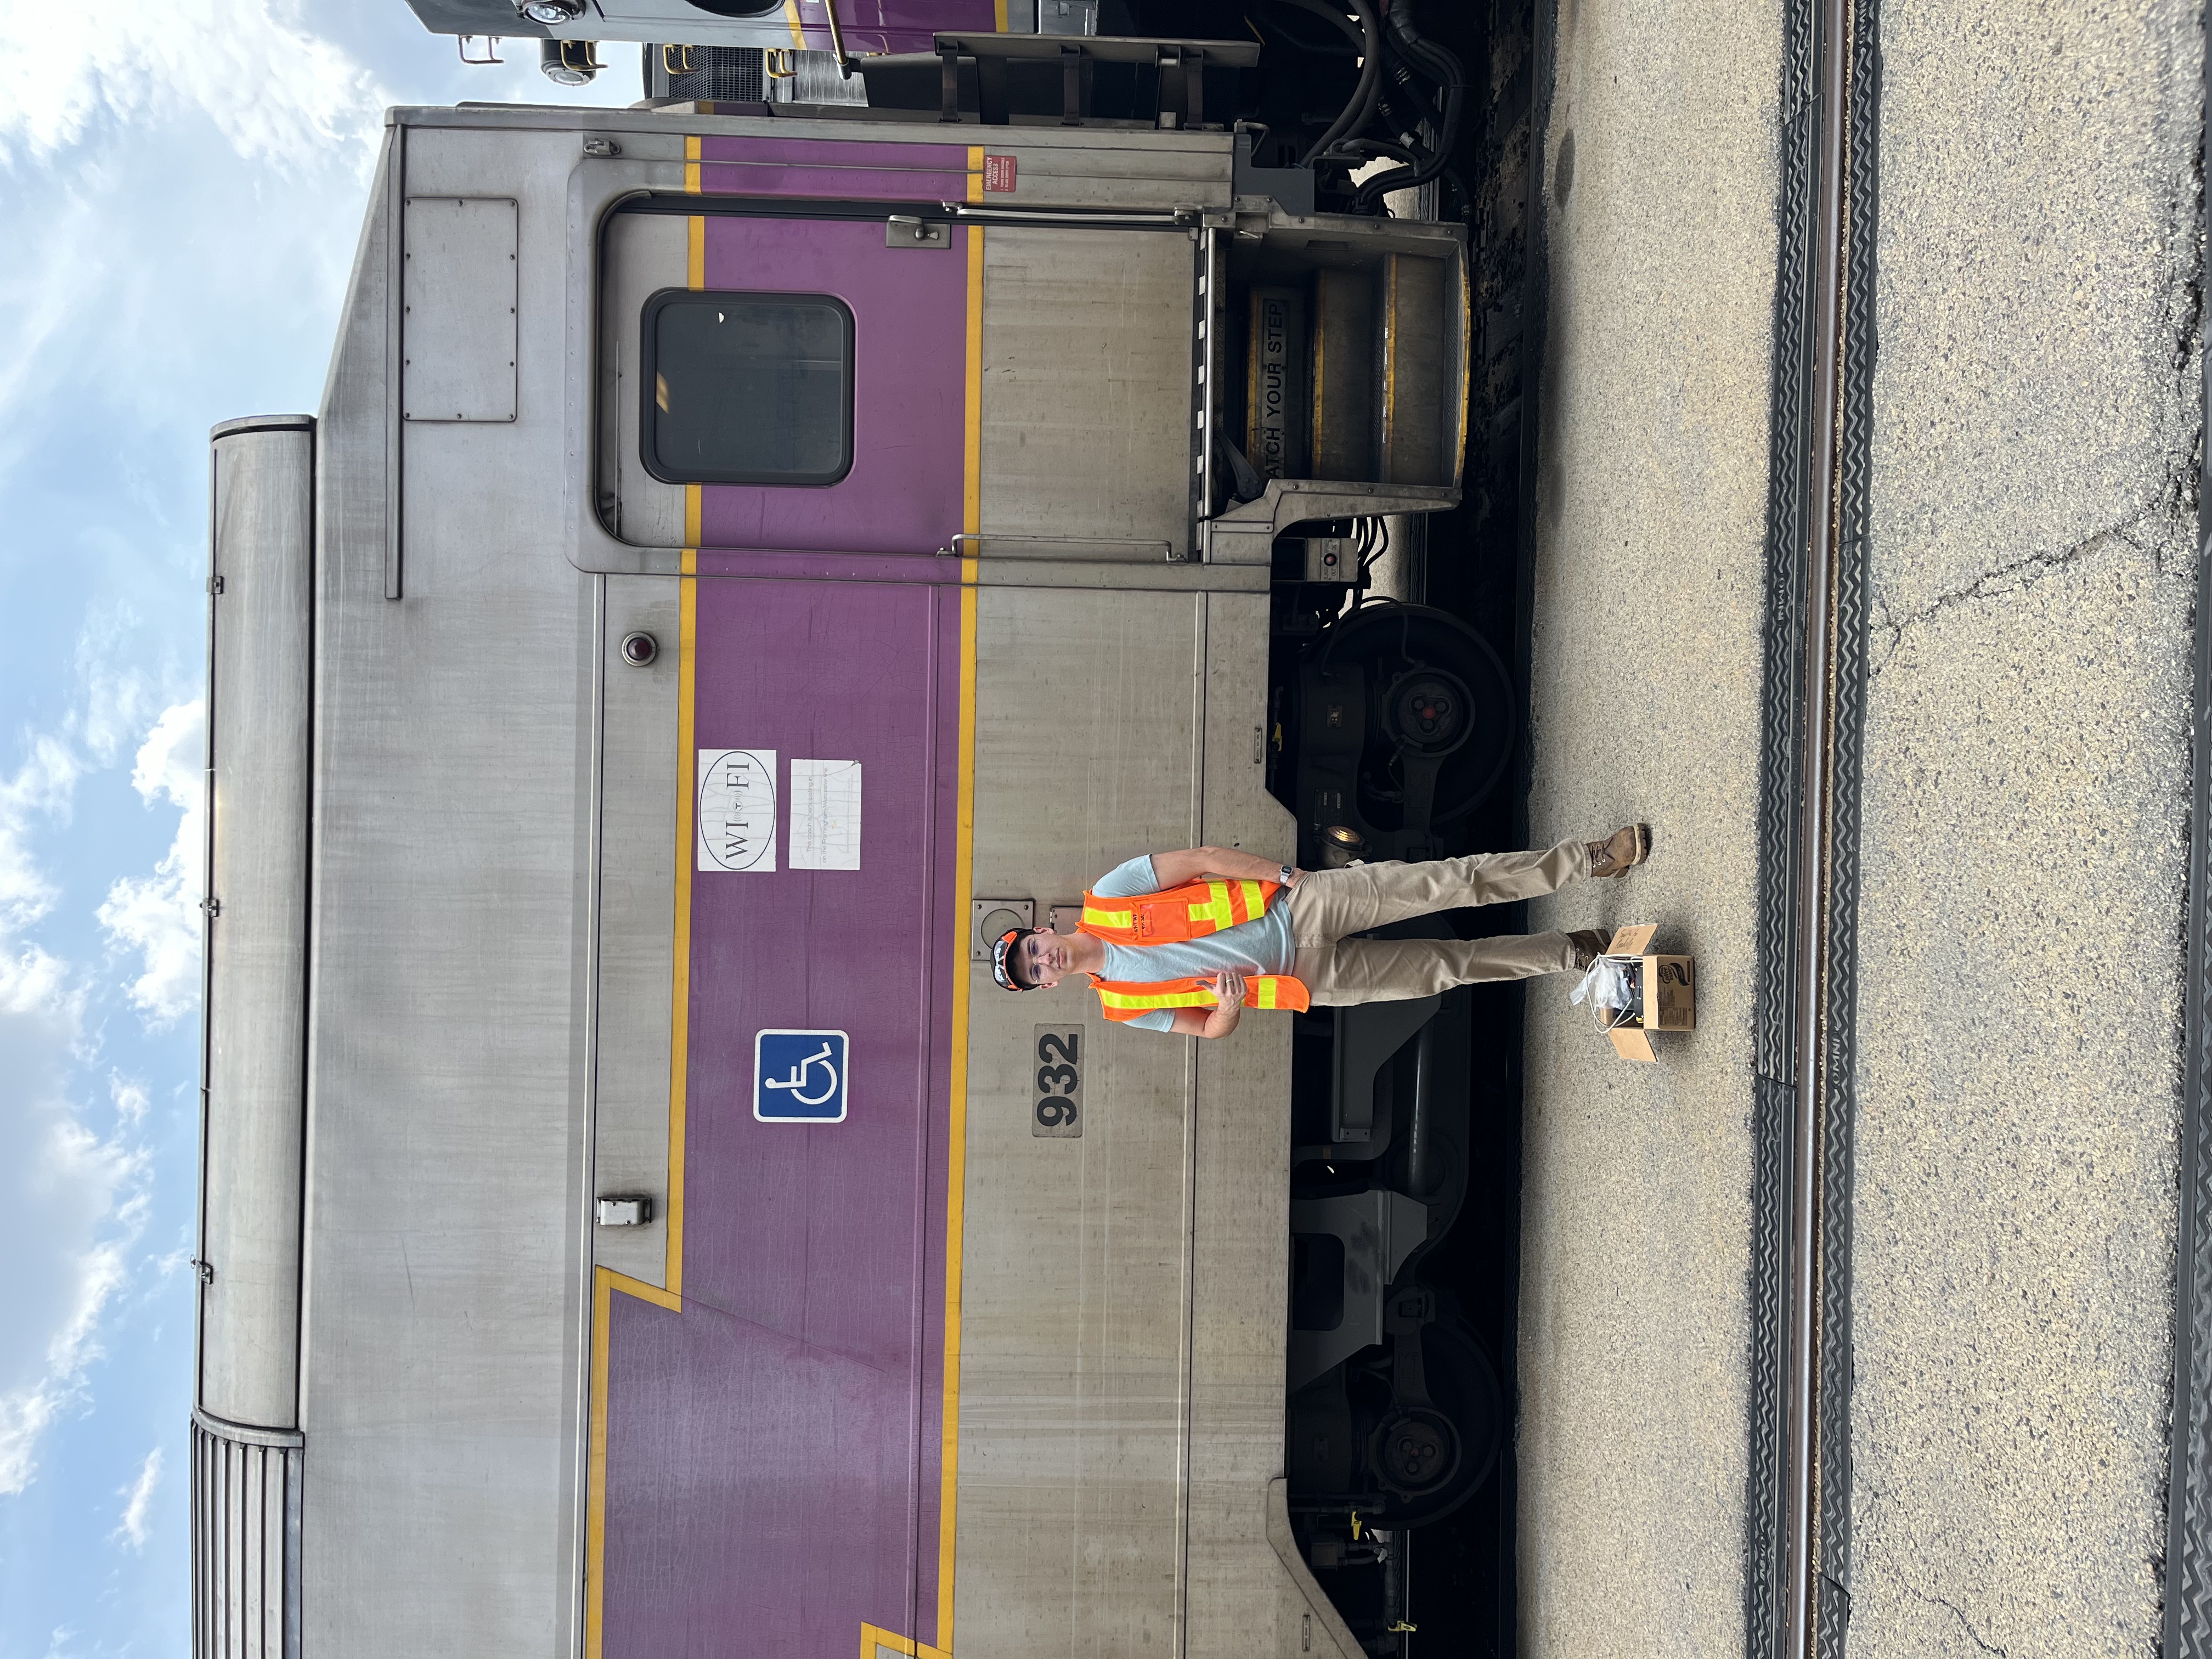
Me after final install